
Last Updated on March 16, 2024
It is Very easy to Interface DC Motor with Raspberry pi by using L293D motor driver IC. As we know the motor converts electrical energy into rotating mechanical energy hence, it has been implemented in different applications. Mostly the DC motor requires more energy and power source than the micro controllers so we can not directly interface the motors with low power controllers.
The motor drivers like L293D helps us to connect motors with microcontrollers, this motro drivers takes input from micro controllers or processors as enable and driver signals then gives high power output to drive motors.

Considering the L293D to drive DC Motor by using the control signals from Raspberry pi. Here DC motor operates with 9V and the output from Raspberry pi is only upto 3.3V, the motor driver IC L293D will have two types of power supply VCC1 it is for internal logic translation (5V) and VCC2 is power Vcc for drivers to DC motor terminals (4.5V to 36V), and by using low input control signals this IC can drive DC motors. It can give continuous output current upto 600 mA.
DC Motor Raspberry pi Interfacing
Elements Required
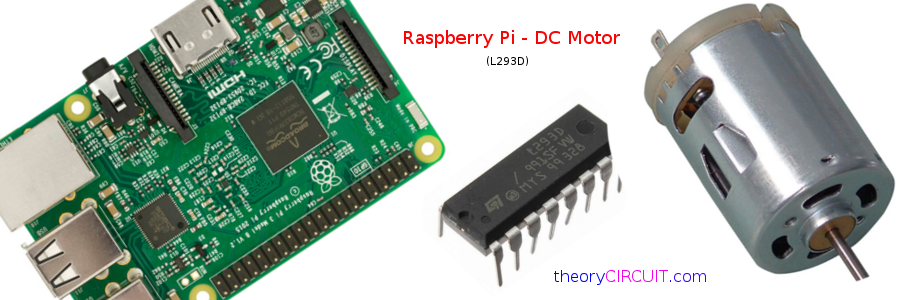
- Raspberry pi
- DC Motor (9 v dc motor)
- IC L293D (Motor driver)
- Battery (9V)
- Connecting Wires
Connection details
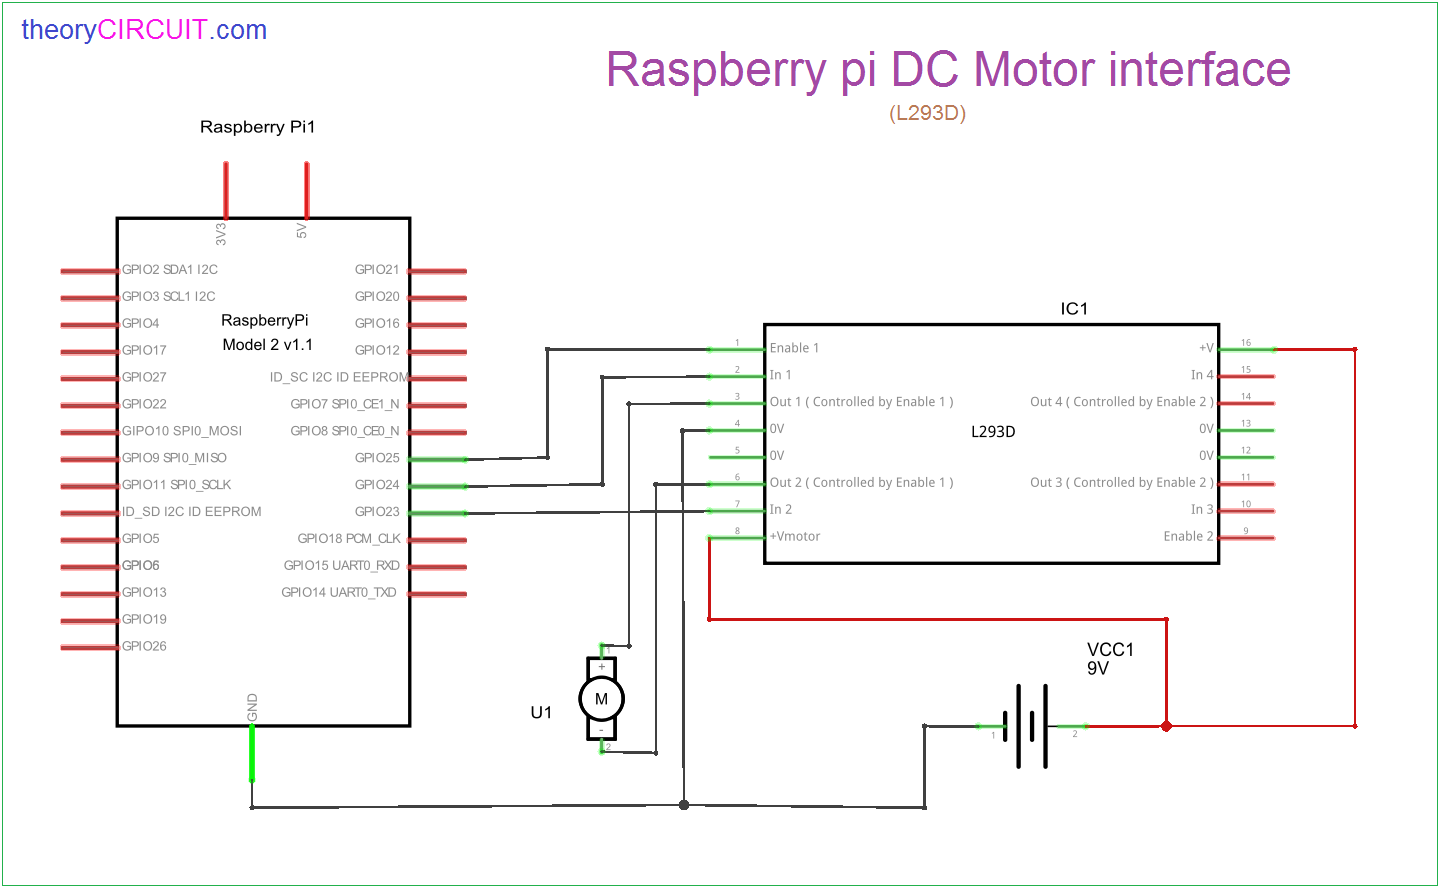
Connect GPIO 23 to IN2 of IC L293D and connect GPIO 24 pin to IN1 of IC L293D, then connect GPIO 25 pin of Raspberry pi to Enable 1 of motor driver L293D.
Output out1 and out2 are connected to the DC motor terminals, separate DC power supply (9V) is connected to the Motor driver IC.
Gnd (ground) pin of L293D and Raspberry pi is connected commonly with DC power supply, You can use power supply to motor driver IC from Raspberry pi if you are using 5V or lower than 5V DC motor.
Python Program for DC Motor Control
Program reference
[code]
import RPi.GPIO as GPIO
from time import sleep
# Pins for Motor Driver Inputs
Motor1A = 24
Motor1B = 23
Motor1E = 25
def setup():
GPIO.setmode(GPIO.BCM) # GPIO Numbering
GPIO.setup(Motor1A,GPIO.OUT) # All pins as Outputs
GPIO.setup(Motor1B,GPIO.OUT)
GPIO.setup(Motor1E,GPIO.OUT)
def loop():
# Going forwards
GPIO.output(Motor1A,GPIO.HIGH)
GPIO.output(Motor1B,GPIO.LOW)
GPIO.output(Motor1E,GPIO.HIGH)
sleep(5)
# Going backwards
GPIO.output(Motor1A,GPIO.LOW)
GPIO.output(Motor1B,GPIO.HIGH)
GPIO.output(Motor1E,GPIO.HIGH)
sleep(5)
# Stop
GPIO.output(Motor1E,GPIO.LOW)
def destroy():
GPIO.cleanup()
if __name__ == ‘__main__’: # Program start from here
setup()
try:
loop()
except KeyboardInterrupt:
destroy()
[/code]