
Last Updated on October 13, 2025
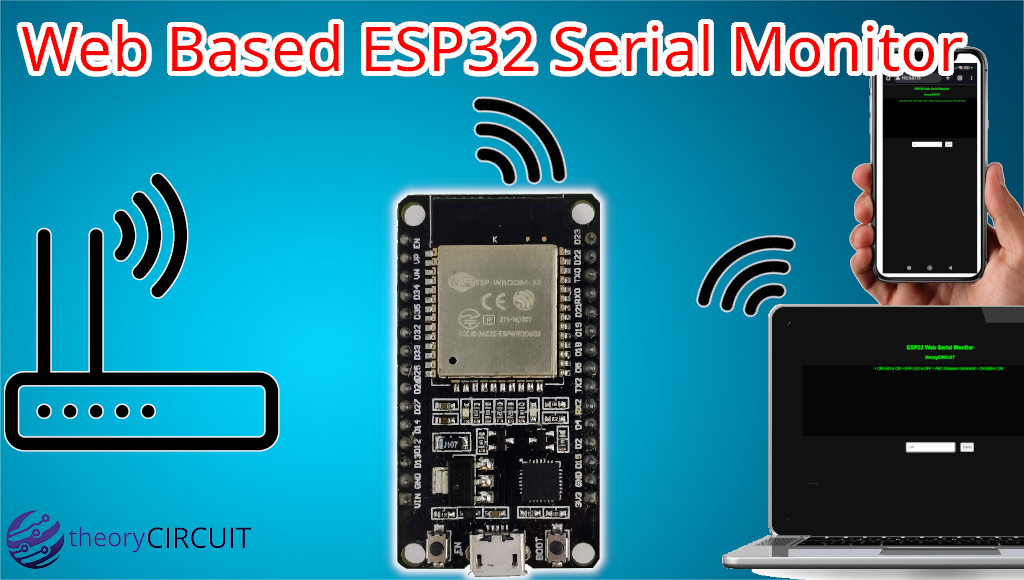
I just tried to have serial communication with ESP32 using Web browser, It is capable of Send and Receive serial data remotely without any huge delay. When you are in a situation to have serial monitor remotely this tutorial will help you to build one. Here is a simple example that is,9 on board LED of ESP32 has been controlled over Web based serial monitor. You can Send command and Receive status of ESP32 board in Web browser remotely (in a same network). So that we don’t need to depend on IDE serial monitor. Additionally you can connect multiple device with ESP32 to watch and control serial monitor.
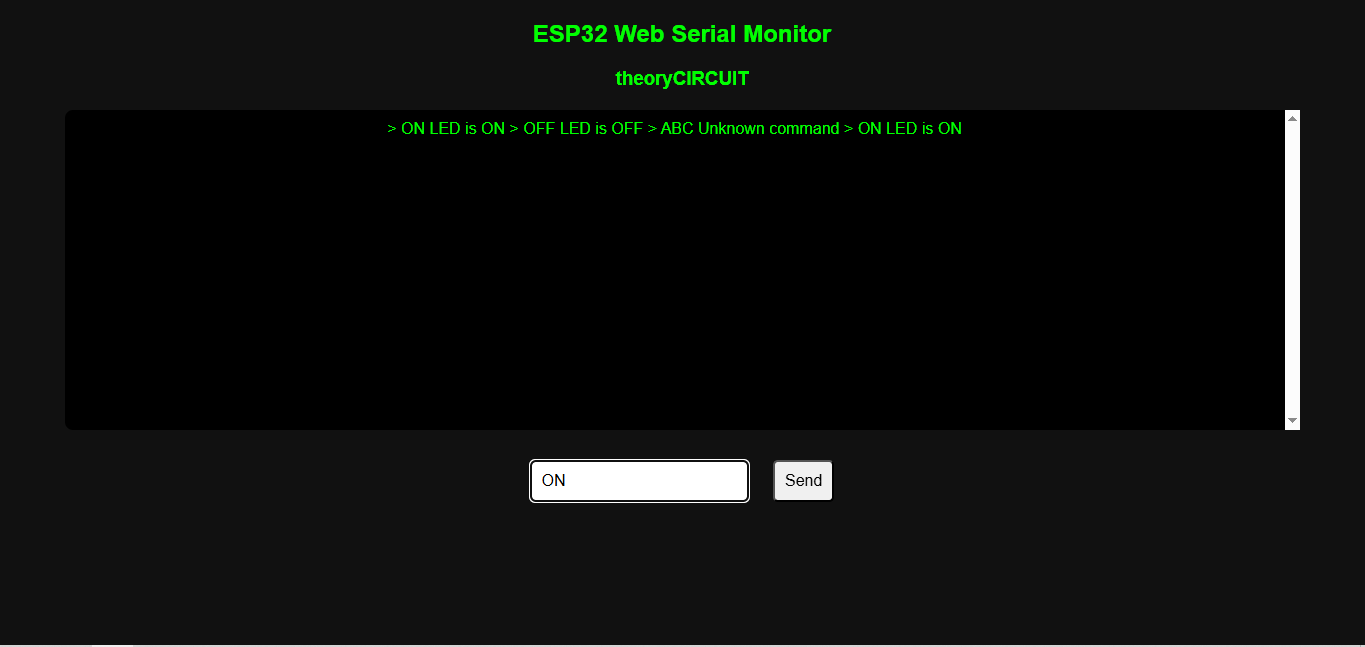
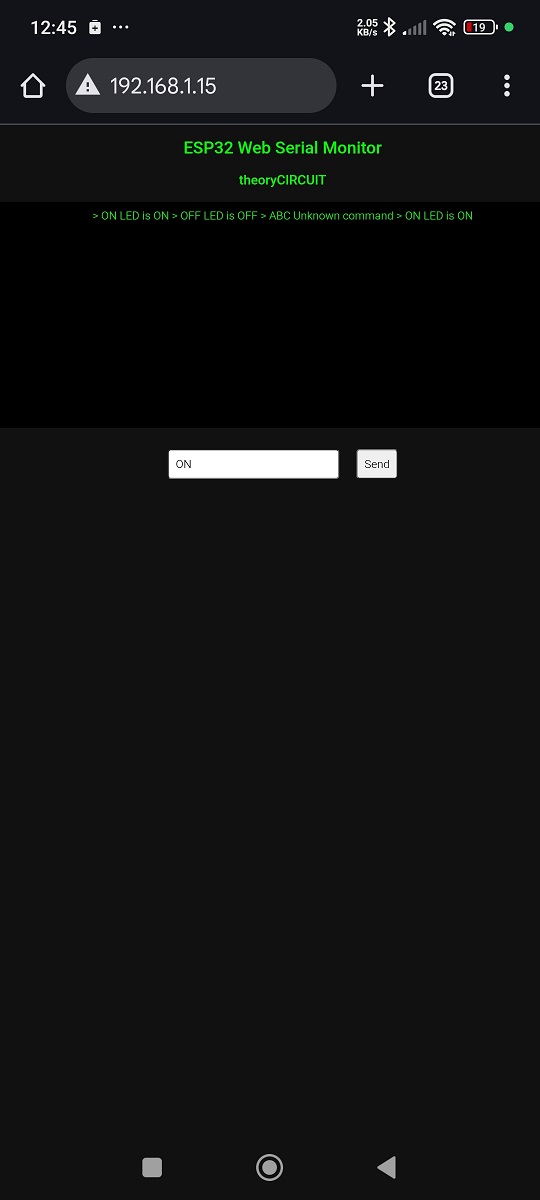
In this project simple code written with predefined Command and its operation like on board LED ON and OFF. Here ESP32 runs web interface code also, when we upload it the board connects with WIFI with given credentials then provide IP address for communicaiton. When we open a browser on our computer or mobile then connect with ESP32’s IP address, we can get a web page that looks just like a serial monitor. You can send text commands from your browser and the ESP32 will respond and display message on that page, just like the Arduino Serial monitor.
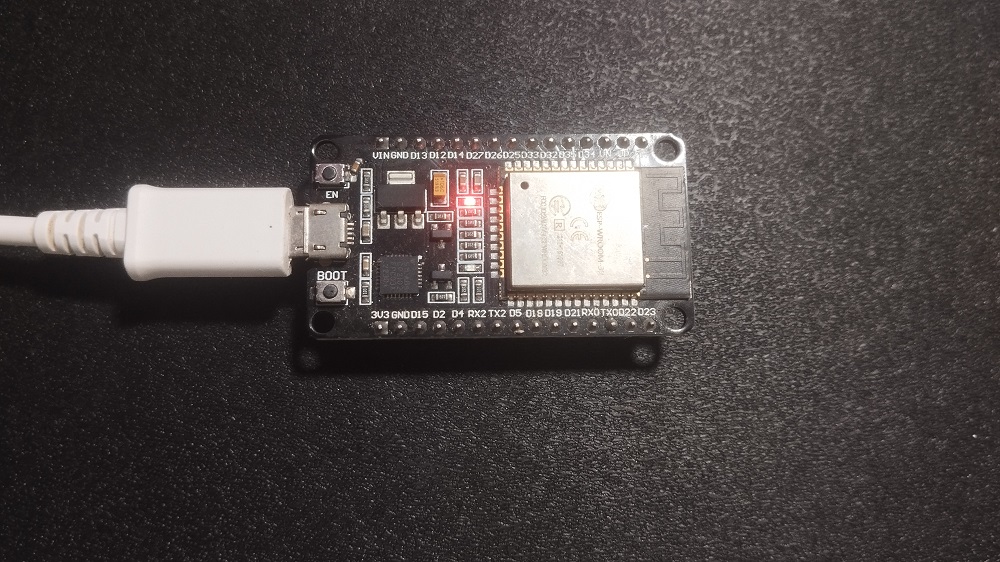
Circuit
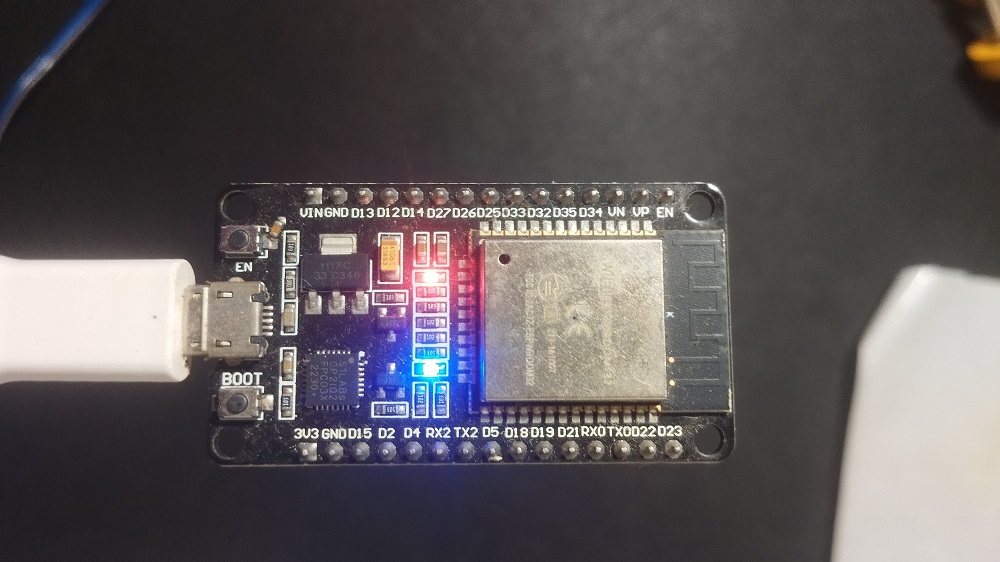
It is just a serial monitor and on board LED (GPIO 2) control project so that you don’t need any external component. Just connect your ESP32 Board with computer for uploading code using Arduino IDE. You should have common WiFi for ESP32 and computer or mobile. (Same Network).
Code
#include <WiFi.h>
#include <WebServer.h>

#define LED 2  // Onboard LED for ESP32 Devkit

const char* ssid = "YOUR_WIFI_SSID";
const char* password = "YOUR_WIFI_PASSWORD";

WebServer server(80);
String serialBuffer = "";

String webPage = R"rawliteral(
<!DOCTYPE html>
<html>
<head>
  <meta charset="UTF-8">
  <title>ESP32 Web Serial Monitor</title>
    <style>
    body { font-family: Arial; background: #111; color: #0f0; text-align: center; }
    #console { background: black; color: #0f0; padding: 10px; width: 90%; height: 300px; overflow-y: scroll; margin: 20px auto; border-radius: 8px; }
    input, button { padding: 10px; margin: 10px; font-size: 16px; border-radius: 5px; }
  </style>
</head>
<body>
  <h2>ESP32 Web Serial Monitor</h2>
  <h3>theoryCIRCUIT</h3>
  <div id="console"></div>
  <input type="text" id="command" placeholder="Type command here">
  <button onclick="sendCommand()">Send</button>

  <script>
    async function getData() {
      const response = await fetch('/read');
      const text = await response.text();
      document.getElementById("console").innerHTML = text.replace(/\\n/g, "<br>");
      setTimeout(getData, 1000); // Poll every 1 second
    }
    getData();

    async function sendCommand() {
      let cmd = document.getElementById("command").value;
      if(cmd.trim() != "") {
        await fetch("/send?cmd=" + cmd);
        document.getElementById("command").value = "";
      }
    }
  </script>
</body>
</html>
)rawliteral";

void setup() {
  Serial.begin(115200);
  pinMode(LED, OUTPUT); // Initialize onboard LED

  WiFi.begin(ssid, password);
  Serial.println("Connecting to WiFi...");

  while (WiFi.status() != WL_CONNECTED) {
    delay(500);
    Serial.print(".");
  }

  Serial.println("\nWiFi connected!");
  Serial.print("ESP32 IP: ");
  Serial.println(WiFi.localIP());

  // Web routes
  server.on("/", []() {
    server.send(200, "text/html", webPage);
  });

  server.on("/read", []() {
    server.send(200, "text/plain", serialBuffer);
  });

  server.on("/send", []() {
    String cmd = server.arg("cmd");
    Serial.println("Received command: " + cmd);
    serialBuffer += "> " + cmd + "\n";

    // LED control
    if (cmd == "ON") {
      digitalWrite(LED, HIGH);
      serialBuffer += "LED is ON\n";
    }
    else if (cmd == "OFF") {
      digitalWrite(LED, LOW);
      serialBuffer += "LED is OFF\n";
    }
    else {
      serialBuffer += "Unknown command\n";
    }

    server.send(200, "text/plain", "OK");
  });

  server.begin();
  Serial.println("Web server started!");
}

void loop() {
  server.handleClient();
  // No automatic logging; only updates when commands are sent/received
}
Output Screenshot from Web Browsers
How It Works?
Here is the details about how the code works. The code starts with two header library files that is WiFi.h which is default and WebServer.h from board installation. If your IDE don’t have these library then just install ESP32 board in boards manger.
1. WiFi Setup
The code connects the ESP32 Board to your WiFi using
WiFi.begin(ssid, password);
Once it connects with WiFi then you will see the IP address in the Serial Monitor of Arduino IDE. Then you can open that IP address in your we browser that is gona be your remote serial monitor page.
2. Web Server
In the code we have to start a simple web server on port 80 to bring serial monitor data live.
WebServer server(80);
and then the following route serves the HTML page,
server.on("/", []() { server.send(200, "text/html", webPage); });
This page contains a JavaScript function that keeps fetching new serial data every second and during the event occurs.
3. Sending Commands
When you type something and click Send button on the web page displaying in ESP32 IP address then the browser sends
/send?cmd=YOUR_TEXT
to the ESP32.
The ESP32 receives the command, prints it on the serial terminal, and stores it in the serialBuffer.
4. LED Control
The command handler in the ESP32 core checks if the command you send through browser is ON or OFF
if (cmd == "ON") digitalWrite(LED, HIGH);
else if (cmd == "OFF") digitalWrite(LED, LOW);
So you can type ON and send to turn the onboard LED ON and type OFF and send to turn it OFF.
You will also see a message displayed on the web serial monitor page instantly.
5. Displaying Serial Data
The /read route returns all messages in the serialBuffer. The JavaScript in the page calls it every second
setTimeout(getData, 1000);
server.handleClient();
  // No automatic logging; only updates when commands are sent/received
}
This creates a smooth live update effect, like a real serial monitor.
Remember while Testing
You have to give your exact WiFi credentials in the Arduino code before uploading it to your ESP32 board.
After successful uploading, if you are not seeing anything in the serial monitor of Arduino IDE then press ‘EN’ button on the ESP32 board and wait until serial monitor shows connected IP.