Last Updated on May 10, 2025
ESP32 microcontroller have many unfamiliar and very useful tools in its architecture, one of them is a Wi-Fi block (2.4 GHz). If you have a weak Wi-Fi signal in a part of your home or workshop you may choose Wi-Fi repeater as a quick fix. Even though commercial repeaters exist, its fun to build and explore on our own so, Let’s build a Wi-Fi Extender using ESP32 board and open source firmware, also it’s a great way to repurpose old ESP32 boards.
The ESP32 board connects to your main Wi-Fi router as a station (STA mode) and simultaneously broadcasts its own Wi-Fi network in AP mode. ESP32 Microcontroller Wi-Fi block then forwards packets using NAT (Network Address Translation), so that it allowing connected devices to access the internet. This setup doesn’t function as a true Layer 2 bridge, but it’s perfectly suited for most IoT and light usage situations.
Requirements
- ESP32 Dev Board (e.g., ESP32-WROOM-32 or ESP32-WROVER)
- Micro USB cable
- PC with USB port
- Flashing Tool (esptool.py – see text to know how to install)
- Open-source firmware: ESP32 NAT Router Github page
- Arduino IDE for Arduino Serial Monitor
Steps to Follow
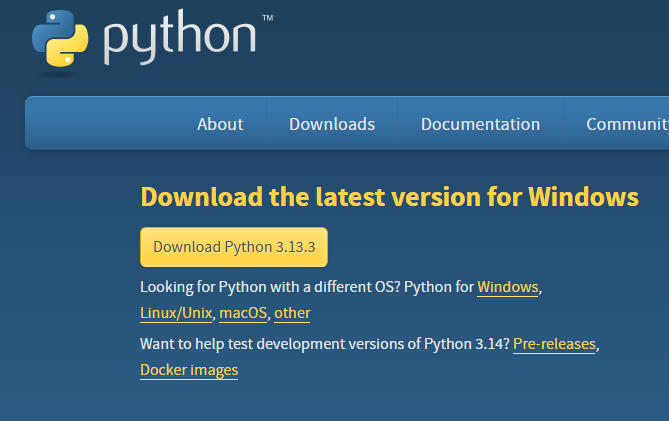
1. Install python (if you don’t have)
2. Download esp32_nat_router binary files
3. Connect ESP32 board with Computer
4. Flash firmware
5. Find host ip
6. Setup router
1. Install python (if you don’t have)
Install python in your computer (if you don’t have) and during Installation select Add python to PATH, so that you can run python and access it from any directory and terminal.
Now Install esptool.py through Command prompt (CMD), for that just type following text in cmd.
pip install esptool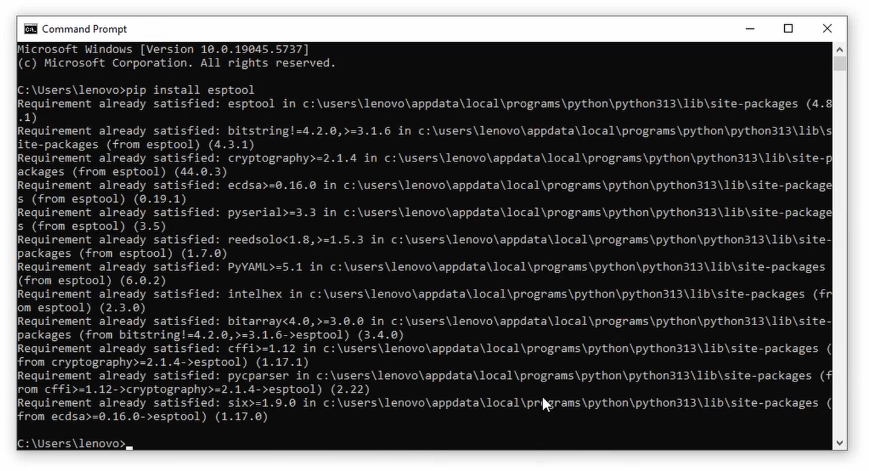
After installing esptool use the following text to know the version.
python -m esptool --version2. Download esp32_nat_router binary files
Go to esp32_nat_router page and then build > esp32 then download all the binary (.bin) files.
- bootloader.bin
- firmware.bin
- partitions.bin
remember the path to mention in cmd.
3. Connect ESP32 board with Computer
Connect you ESP32 board with Computer and note down the connected port number through device manger, here our ESP32 (DOIT Devkit V1) connected in COM4 port. This port number is important to flash the firmware to ESP32 microcontroller.
4. Flash firmware
To flash all the binary (.bin) firmware files, just go to the directory of files through cmd and then type the following text.
python -m esptool --chip esp32 --port COM4 --baud 460800 write_flash -z 0x1000 bootloader.bin 0x8000 partitions.bin 0x10000 firmware.bin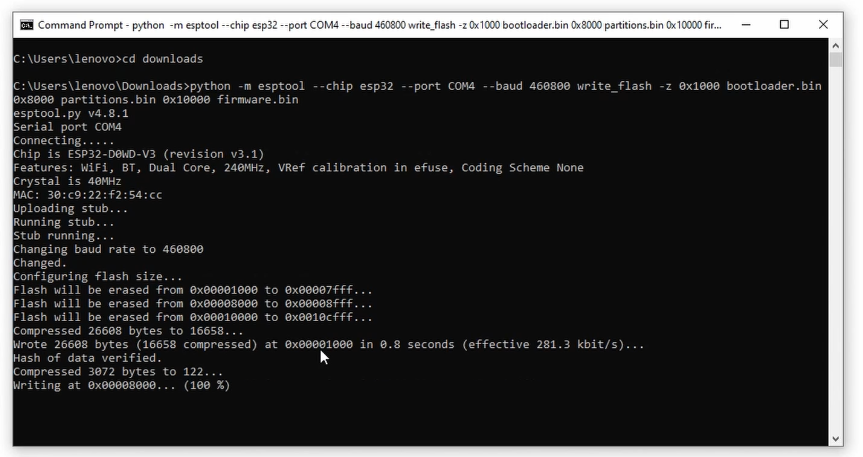
5. Find host ip
To find the host ip for to setup wi-fi extender (repeater), just open Arduino IDE > and then Serial Monitor, now choose baud rate at 115200 and then press ‘EN’ button on the ESP32 board, you may get the following ip address.
host ip: 192.168.4.16. Setup router

Connect your device either computer or mobile to the available network “ESP32-NAT-Router” and then By opening 192.168.4.1 ip address through browser, you can see the setup page, just enter your main Wi-Fi credentials so ESP32 can connect and repeat. You can Set your extender SSID and password, now the ESP32 wi-fi extender is ready to serve internet.