
Last Updated on March 16, 2024
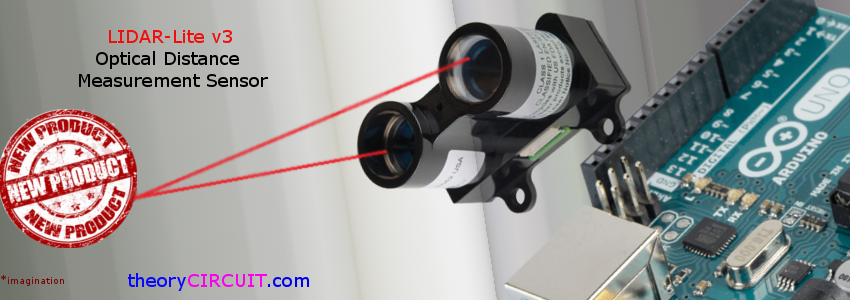
Measuring distance using proximity sensors for few centimeters are past tense! This New Product page brings you a long distance measuring sensor with high accuracy. Now High performance optical distance measurement sensor from Garmin™ available to measure distance upto 40 meters yes 40-meters.
This sensor is very compact and lightweight device hence this LIDAR-lite V3 is the ideal solution for drone, robot or unmanned vehicle application to measure distance.
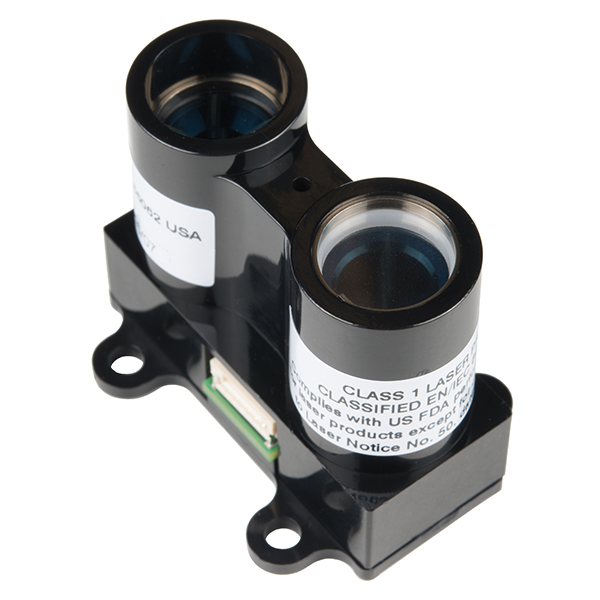
The LIDAR-lite V3 works under Optical distance measurement technique and contains 950nm – 1.3 watts single strip laser transmitter, 4m Radian x 2m Radian beam divergence and an optical aperture of 12.5 mm, This sensor consumes 5V DC with less than 100 mA current during continuous operation and it has one special feature that is, the LIDAR-lite V3 is user configurable sensor, it allows adjustment between accuracy, Operating range and measurement time with I²C or PWM interfacing. There are different types of optical sensors available for distance measurements but this sensor gives reliable output.
LIDAR-lite V3 Arduino Hookup
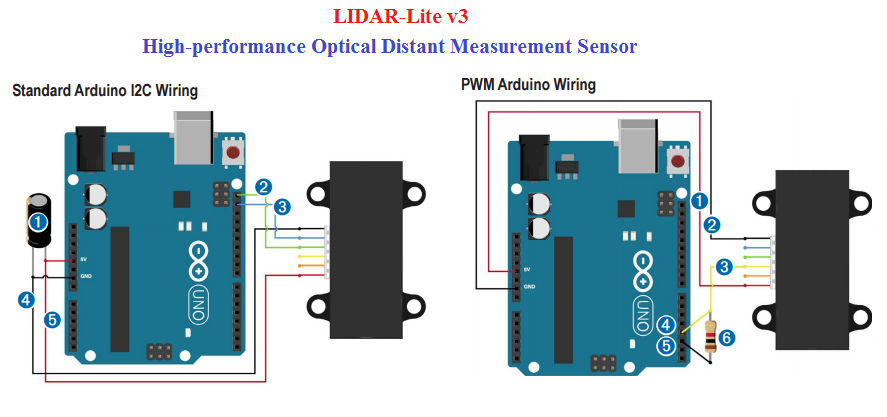
Arduino computing platform brings simple and easy way to connect lidar lite sensor with Arduino development board. There is two options provided (I²C and PWM) to interface sensor with Arduino board & micro-controllers.
While making hookup in the method of standard Arduino I2C wiring probably the Green wire 2 should connected with A5-SCA (for UNO) and Blue wire 3 should connected with A4-SDA (for UNO).
I²C pins of Arduino Boards
| Board | I2C / TWI pins |
| Uno & Ethernet | A4 (SDA) – A5 (SCL) |
| Mega2560 | 20 (SDA) – 21 (SCL) |
| Leonardo | 2 (SDA) – 3 (SCL) |
| Due | 20 (SDA) – 21 (SCL)/SDA1 – SCL1 |
And there is no changes in PWM Arduino hookup.
(Reference: Datasheet of LIDAR-lite V3)
LIDAR lite V3-Optical distance sensor Arduino Code
Before jump into the code first get Arduino library for LIDAR lite V3 sensor from here.
There is example for both I²C and PWM wiring choose as per your opinion, here for an example code given for PWM Arduino wiring.
unsigned long pulseWidth;

void setup()
{
  Serial.begin(115200); // Start serial communications

  pinMode(2, OUTPUT); // Set pin 2 as trigger pin
  digitalWrite(2, LOW); // Set trigger LOW for continuous read

  pinMode(3, INPUT); // Set pin 3 as monitor pin
}

void loop()
{
  pulseWidth = pulseIn(3, HIGH); // Count how long the pulse is high in microseconds

  // If we get a reading that isn't zero, let's print it
  if(pulseWidth != 0)
  {
    pulseWidth = pulseWidth / 10; // 10usec = 1 cm of distance
    Serial.println(pulseWidth); // Print the distance
  }
}
Further