
Last Updated on March 25, 2024
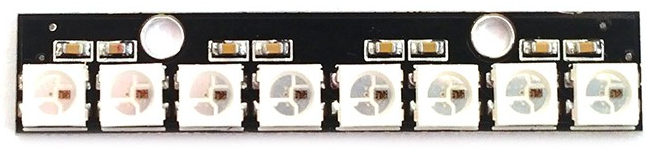
The WS2812B addressable RGB LED is a compact size, ease to use, and versatile Component. With the ability to individually control each LED within the strip or matrix, the WS2812B offers limitless possibilities for dynamic lighting effects and animations. Its integrated controller chip eliminates the need for complex wiring and synchronization and simplifying the design process for decorative lighting, art installations, or stage productions.
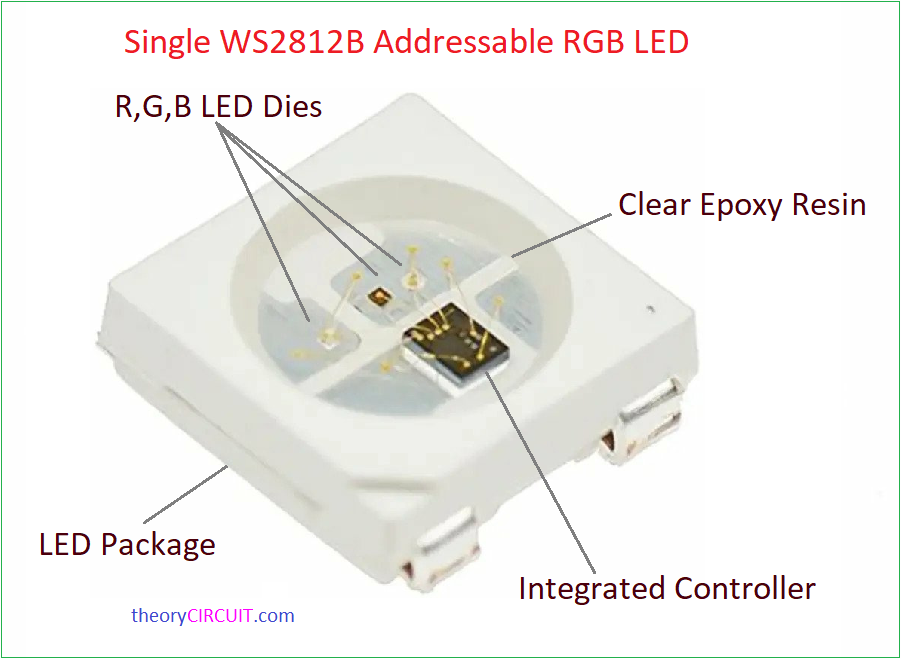
The WS2812B addressable RGB LED contains a red, green, and blue LED within a single package, along with a control integrated circuit. This control circuit allows for individual control of each LED in a strip via a simple serial protocol. Typical operating Voltage of this component is between 3.5V to 5.5V and Signal input Voltage between 1.5V to 3.5V. Integrated control circuit that includes shift registers, PWM (Pulse Width Modulation) drivers, and a constant current circuit and this enables communication with the LED and controls the color and brightness of each pixel independently.
Inside WS2812B
Single WS2812B LED Component requires 5V and 60mA DC power supply for its full brightness operation. You have to calculate the total current requirement depends on the counts of LEDs in the strip. for an example if you are using 15 LEDs then you have to apply 60mA * 15 = 900mA Current (5V/900mA), If you are using SMPS then you don’t need to worry.
Circuit Diagram
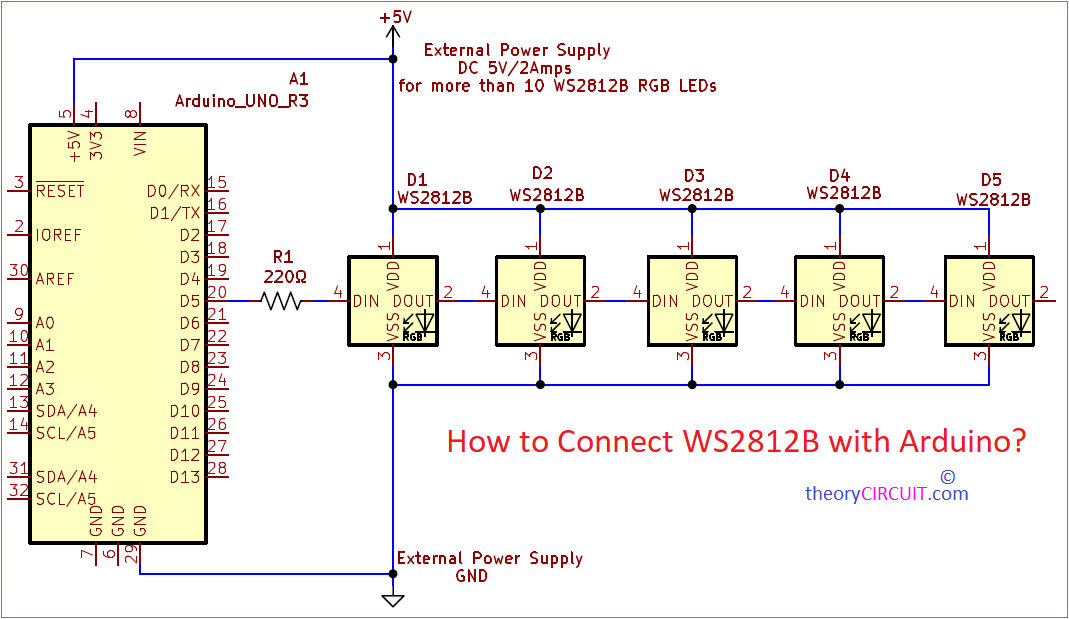
WS2812B Arduino Interface
Video
Construction & Working
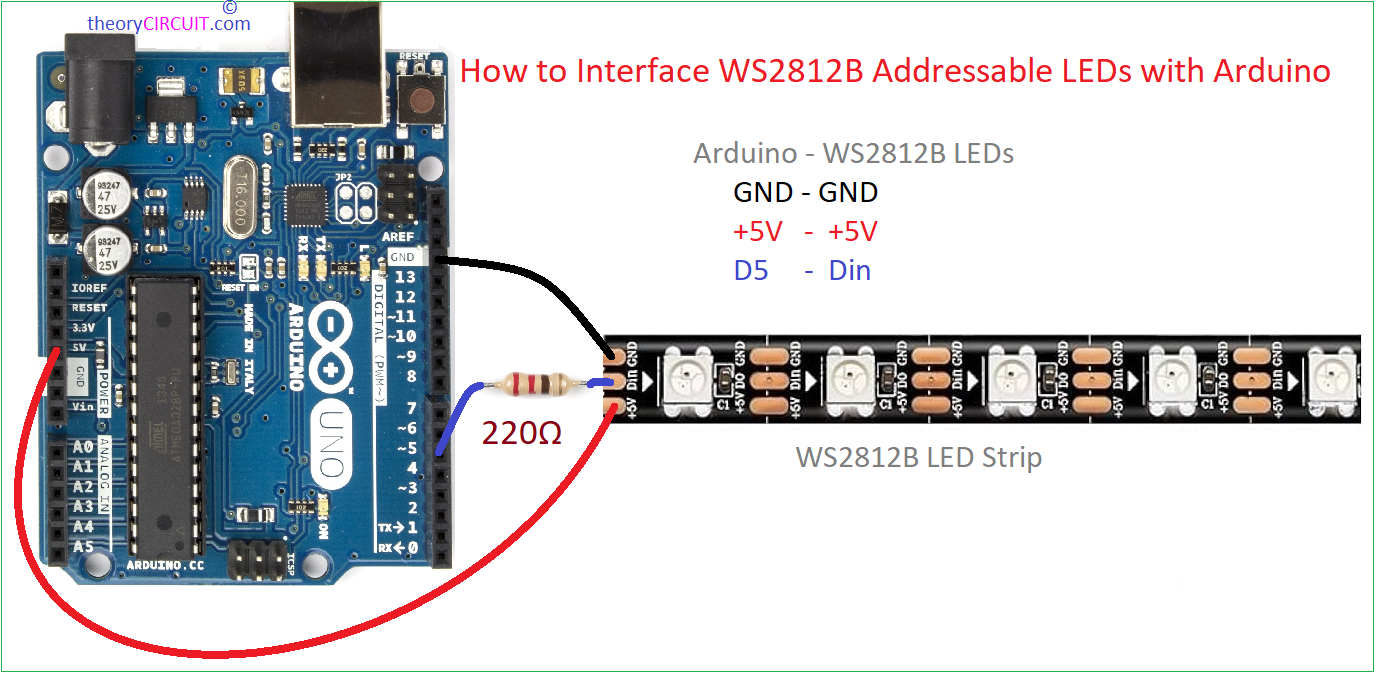
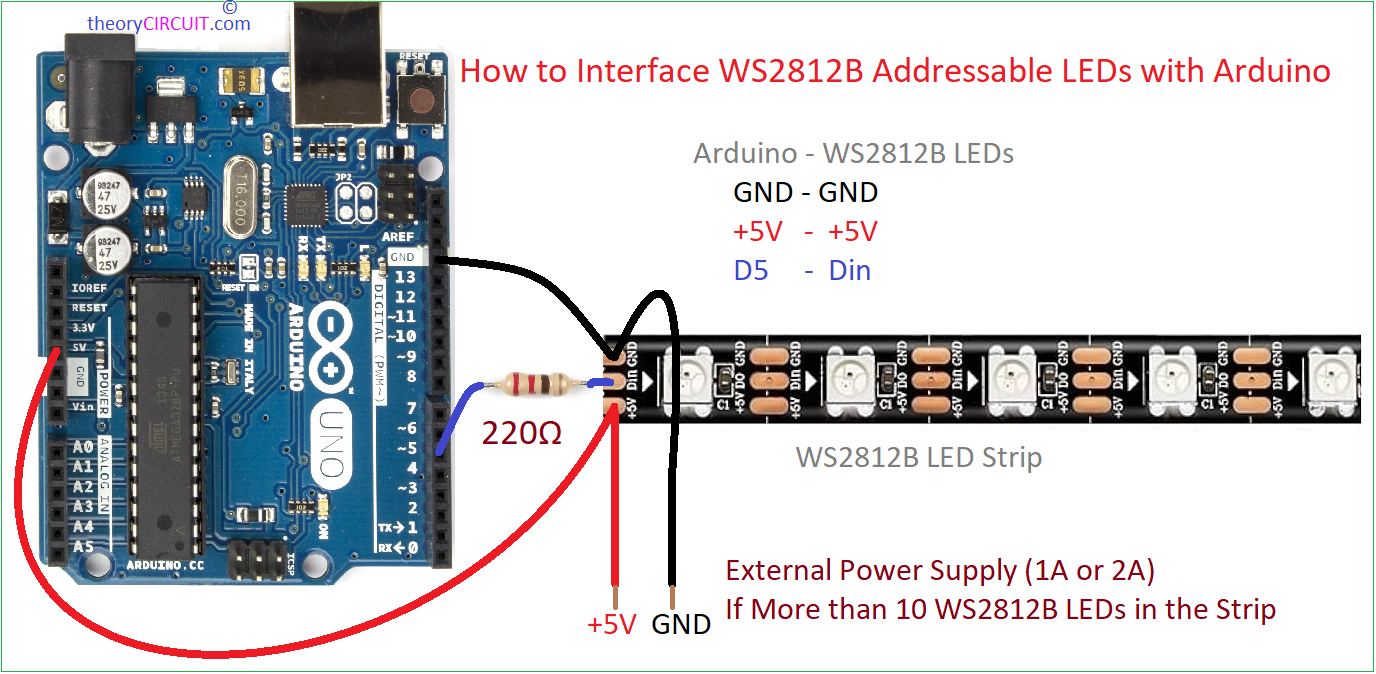
You can use any Arduino board to control this WS2812B LED strip and few lines of code requires to control these LEDs. Start with connecting VDD of LED strip with +5V Arduino pin and Connect GND to GND then connect Digital pin D5 to the Din pin of LED strip through 220Ω Resistor. You can connect any digital pin as a signal input pin and you have to mention it in the Arduino code. If your LED strip contains more than 10 LEDs then use external power supply ranging 5V/ 2Amps.
WS2812B Simple Arduino Code
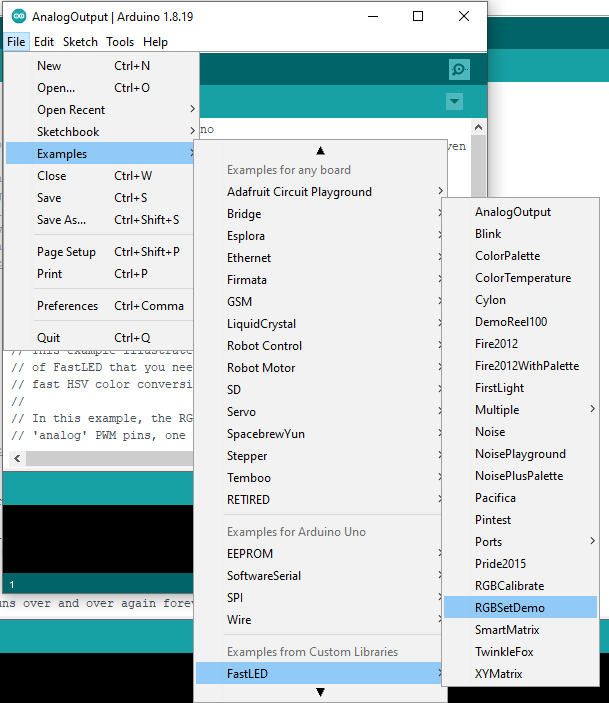
Before start coding download FastLED library to control the WS2812B LED strip.
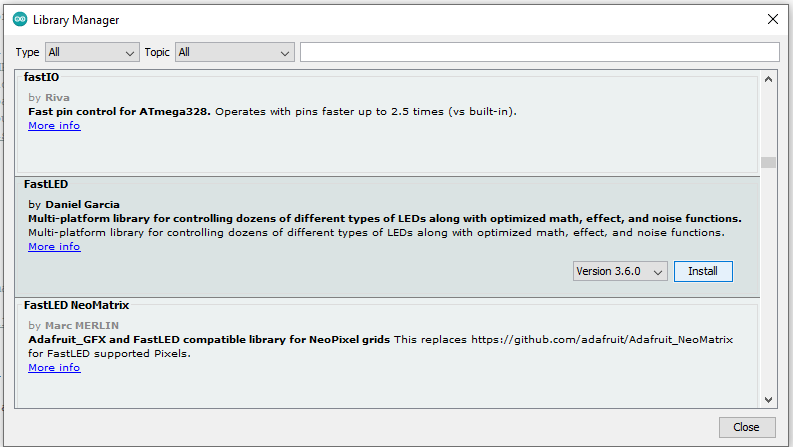
After installing FastLED library you can find lot of interesting examples.
 #include <FastLED.h>
 #define LEDPIN     5 // Your Data input Pin in Arduino
 #define NUMOFLEDS    5 // Number of LEDs in Strip
 CRGB leds[NUMOFLEDS];
 void setup() {
  FastLED.addLeds<WS2812, LEDPIN, GRB>(leds, NUMOFLEDS);
}
 void loop() {
 for (int i = 0; i <= 9; i++) {
    leds[i] = CRGB ( 0, 0, 255);
    FastLED.show();
    delay(40);
  }
  for (int i = 9; i >= 0; i--) {
    leds[i] = CRGB ( 255, 0, 0);
    FastLED.show();
    delay(40);
  }
}
If you have 8 bit WS2812B RGB LED Strip, then use the following code…
#include <FastLED.h>   // Code from theorycircuit
 #define LEDPIN     5 // Your Data input Pin in Arduino
 #define NUMOFLEDS    8 // Number of LEDs in Strip
 CRGB leds[NUMOFLEDS];
 void setup() {
  FastLED.addLeds<WS2812B, LEDPIN, GRB>(leds, NUMOFLEDS);
}
 void loop() {

  for (int i = 9; i >= 0; i--) {
    leds[i] = CRGB ( 255, 0, 0); // Red Color
    FastLED.show();
    delay(100);
  }

  for (int i = 9; i >= 0; i--) {
    leds[i] = CRGB ( 0, 255, 0); // Green Color
    FastLED.show();
    delay(100);
  }

  for (int i = 9; i >= 0; i--) {
    leds[i] = CRGB ( 0, 0, 255);  // Blue Color
    FastLED.show();
    delay(100);
  }

 for (int i = 0; i <= 9; i++) {
    leds[i] = CRGB ( 255, 255, 255); // White Color
    FastLED.show();
    delay(100);
  }

}