Last Updated on September 16, 2026
Most beginner IoT projects need three things those are WiFi setup method, a cloud server and a mobile app., Building all three yourself takes weeks (even when you try with AI codes). But ESP Rainmaker from Espressif gives you the cloud backend and a ready made Android or iOS app for free. So that you can quickly build a IoT system for your home or any where you need.
Here we build a practical example, simple ESP32 ESP Rainmaker IoT project to get started with it. To understand the switch control and reading sensor data through Internet of Things. Here the ESP32 reads temperature and humidity from a DHT22 sensor every five seconds and sends the values to the Rainmaker cloud at the same time you can switch an LED ON or OFF from your phone from any where in the world. Here you can replace LED with a relay or solid state relay to control home appliance or use any other senor instead or DHT22 (you have to alter the code accordingly).
What is ESP Rainmaker?
If you are new to the Espressif eco system, you may wonder what is ESP Rainmaker? in a simple word it is an end to end IoT platform from espressif. It contains four sections.
- ESP32 Firmware – It runs on your board and makes devices & parameters
- RainMaker Cloud – handles MQTT communication, users, and OTA
- ESP RainMaker Phone App – Automatically builds the UI from the parameters your device reports
- RainMaker CLI (or) Dashboard – Used for advanced tasks like OTA job creation and node management
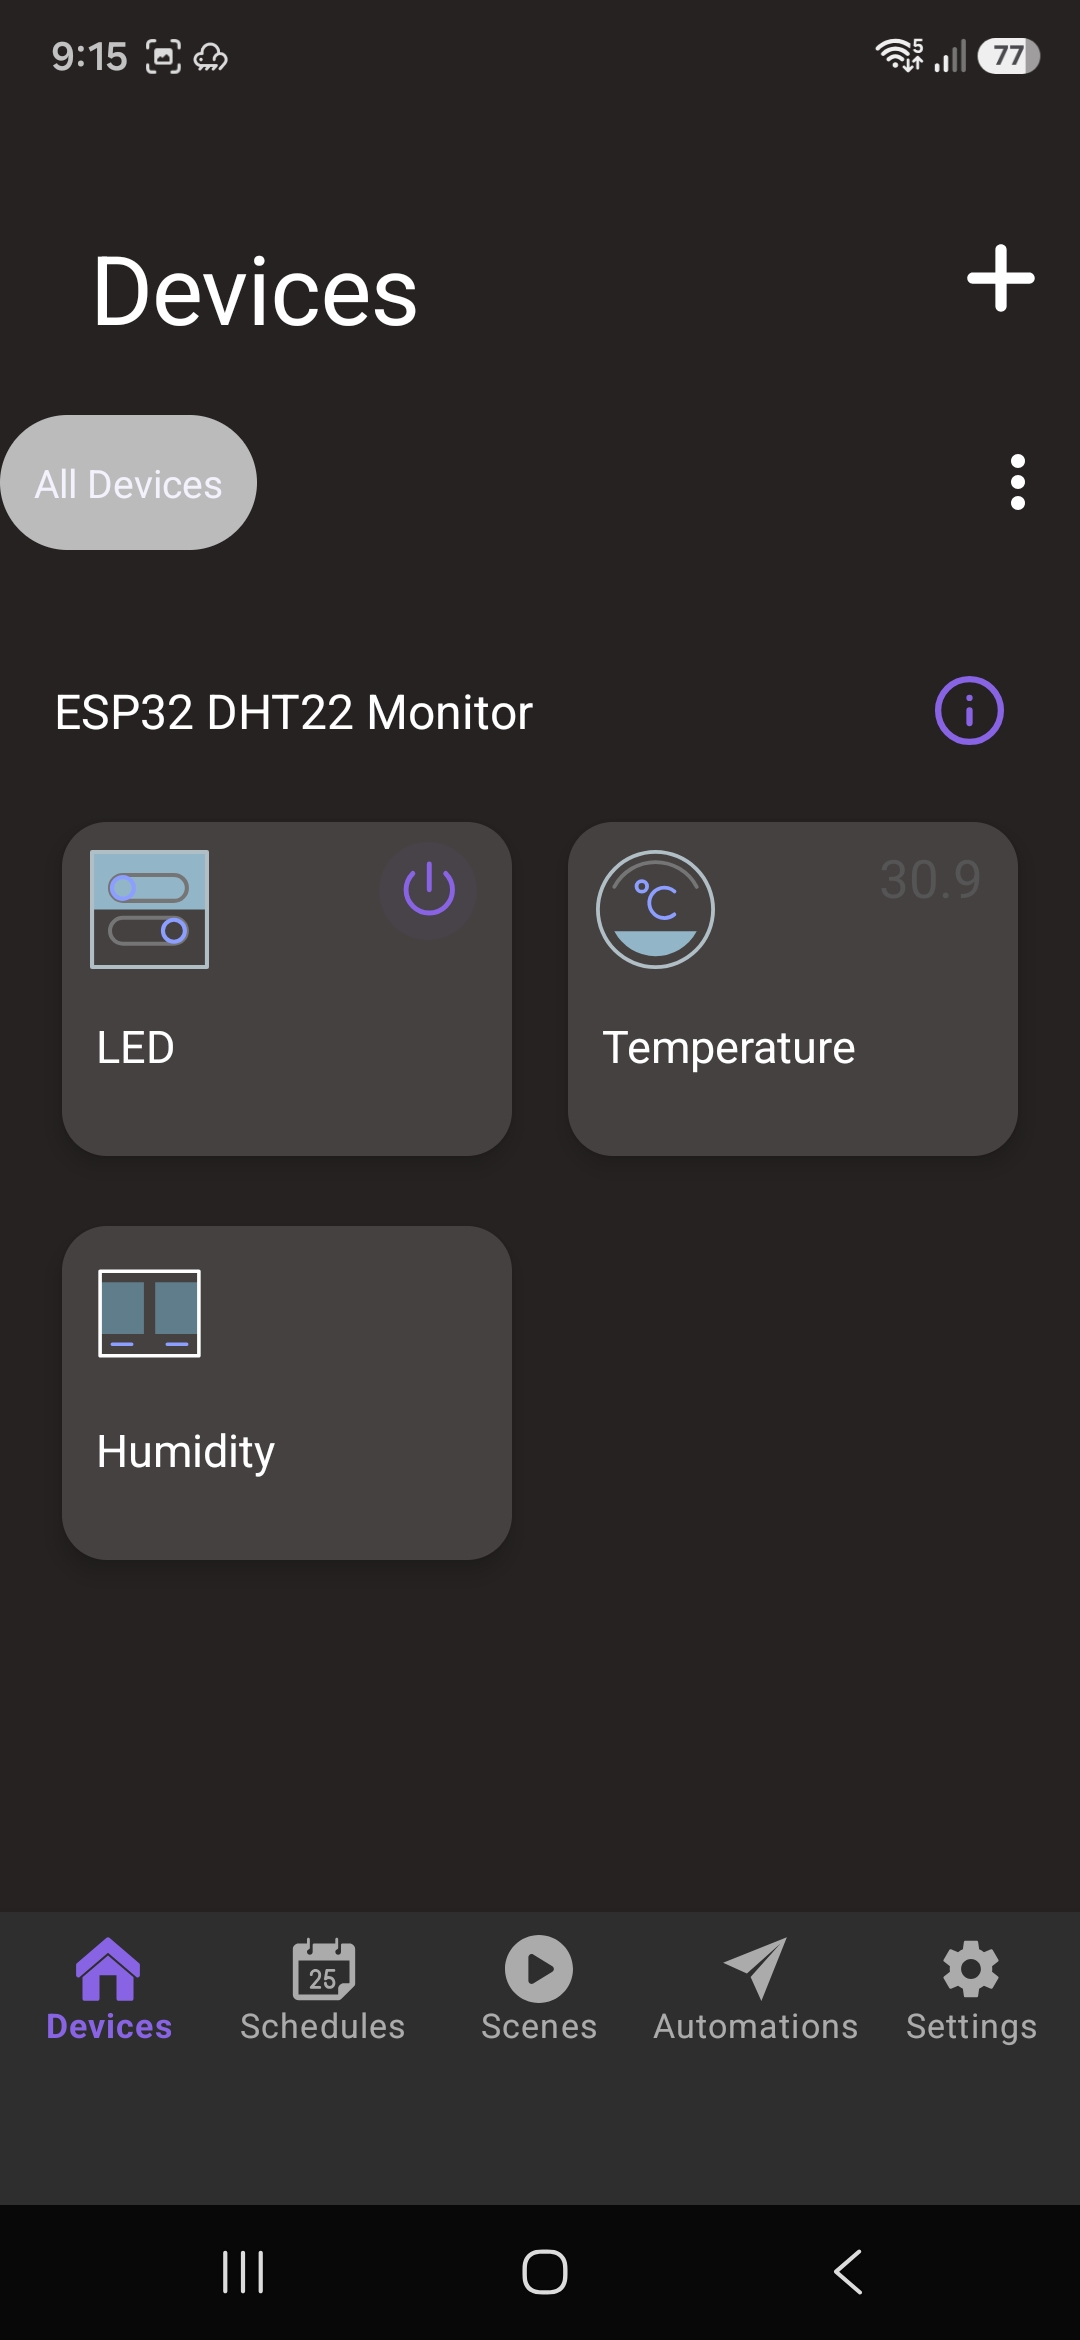
Here the ESP Rainmaker app on your Android or iOS phone makes UI (User Interface) buttons, sensor readings etc., from your code. So the firmware says that i have a switch called LED and Temperature sensor then the app on you mobile display a toggle button and temperature reading card automatically.
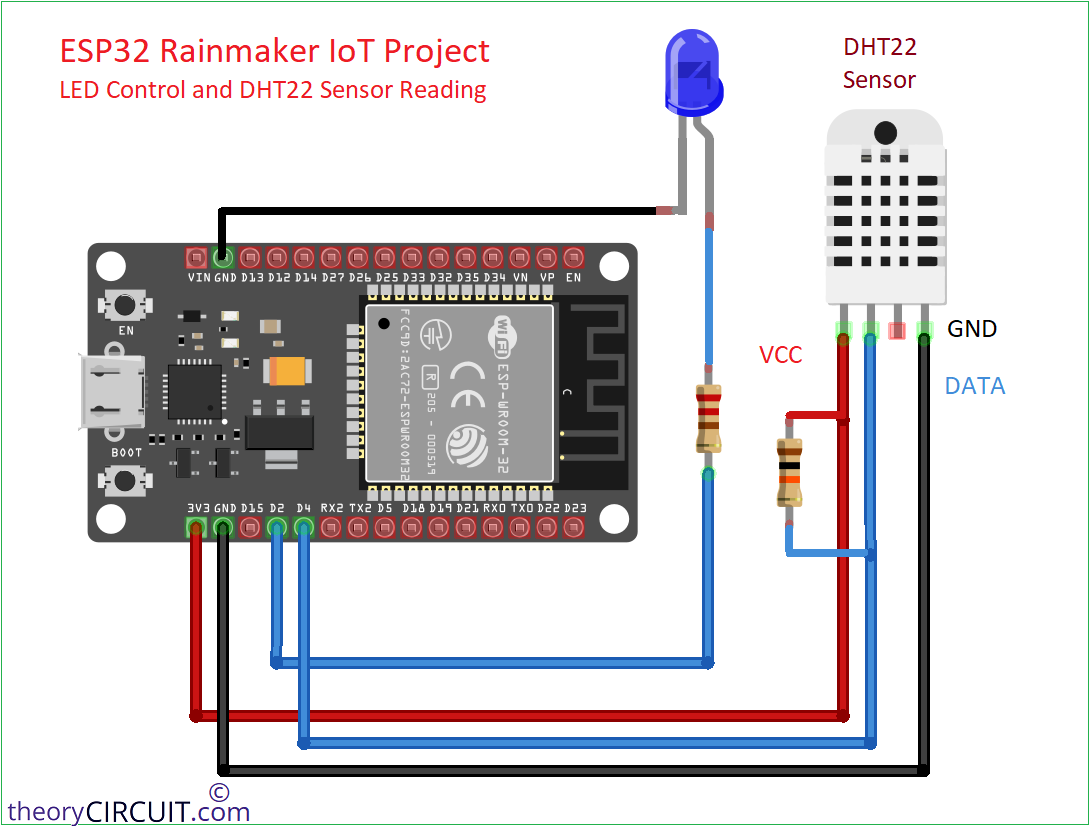
Wiring and Setup
On breadboard
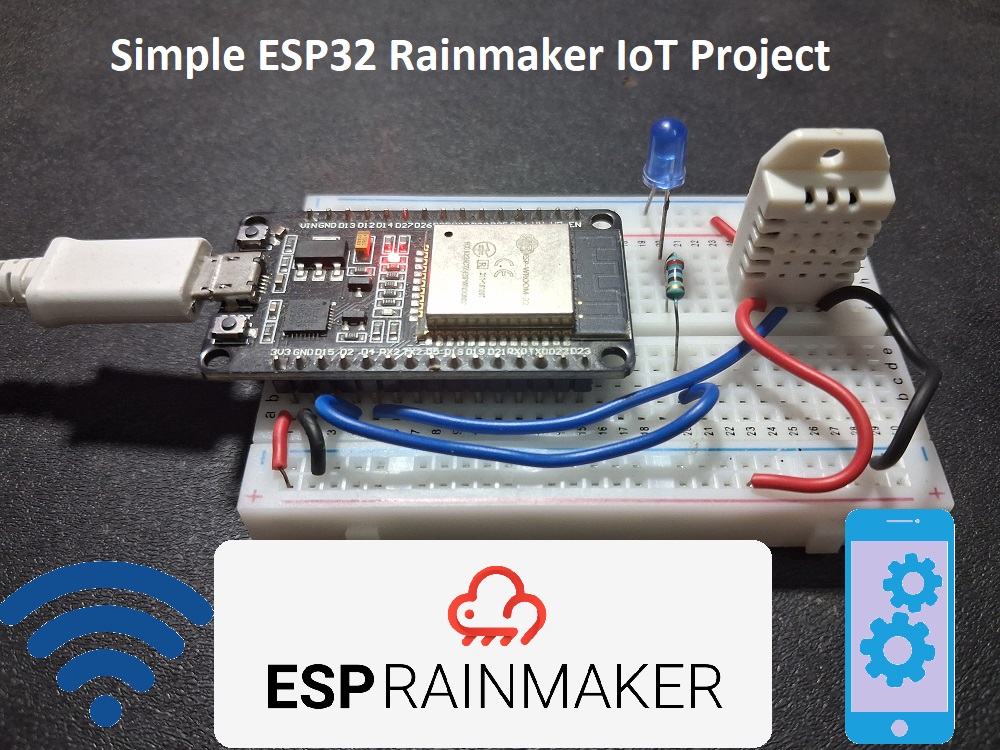
Complete the wiring and Install ESP Rainmaker in your mobile phone either through playstore or apple app store.
Components Required
- ESP32 DOIT Devkit V1
- DHT22 Sensor
- LED 5mm (any colour)
- 10KΩ, 220Ω each one
- Breadboard
- Jumper wires as required
- Micro USB cable to program ESP32 from computer
Software packs Required
- Arduino IDE (latest)
- ESP32 Board Package (if you are new to ESP32 read here)
- DHT sensor library (if required)
- Adafruit Unified Sensor
- ESP RainMaker App
Construction & Working
Here the DHT22 works well at 3.3V so that its VCC pin connected directly to the ESP32 3.3V pin without any level shifter. The data line uses a single wire protocol and needs a pullup Resistor to keep the line HIGH when idle so that we used 10KΩ Resistor between 3.3V line and data line. Here the blue 5mm LED driven directly from GPIO2 pin through 220Ω Resistor.
Here this project works in four stages.
Stage 1 is Boot and Device creation
When the ESP32 gets power supply then it initializes the serial monitor and then makes a Rainmaker node and adds three devices like an LED, a temperature sensor and a Humidity sensor.
Stage 2 is WiFi provisioning
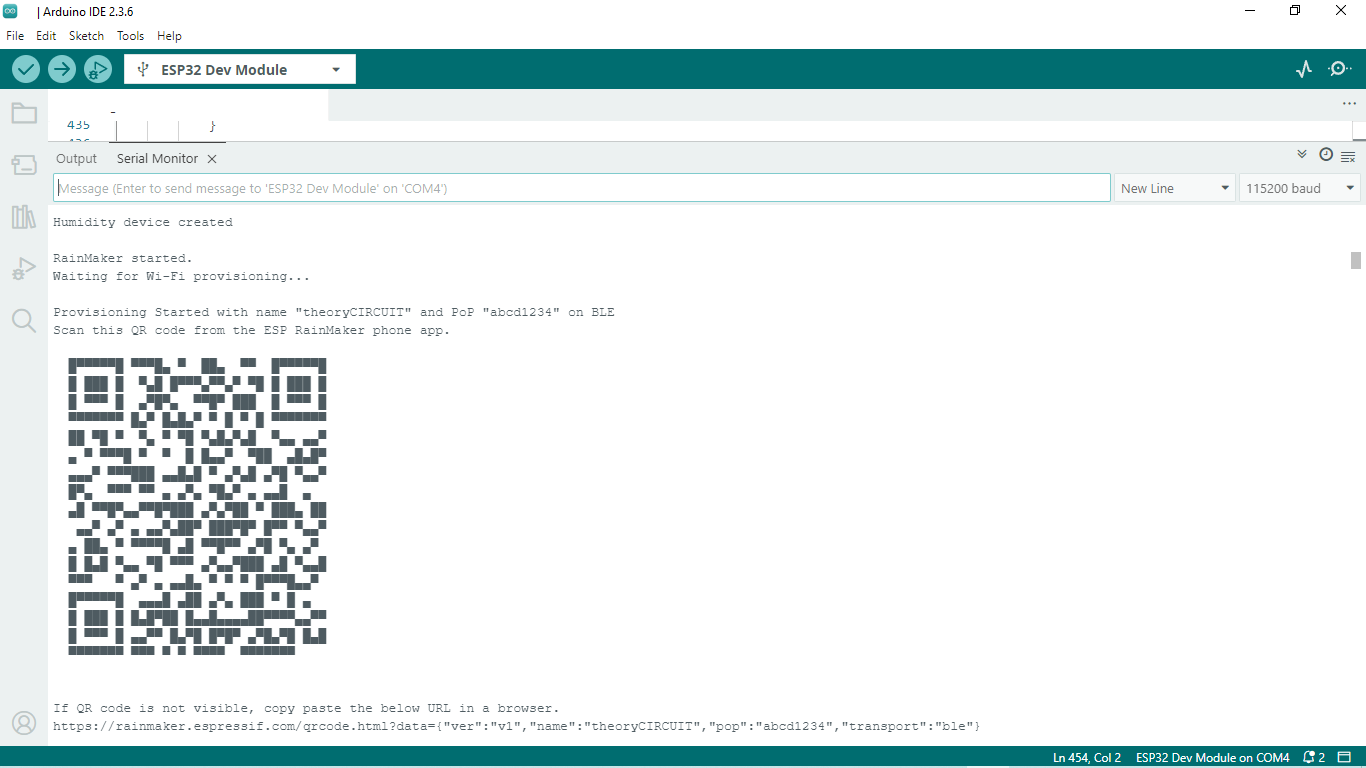
If the board has no WiFi credentials saved from code then it starts provisioning mode. On a normal ESP32 it advertise over BLE with the name theoryCIRCUIT. If the board like ESP32-S2 which has no Bluetooth then it makes softAP hotspot instead. Then a QR code appears in the serial monitor of Arduino ide. so that you can scan it in the Rainmaker app then enter your WiFi name and password and then the board connects to the internet and links itself to your account. Then the credentials are stored in the ESP32 NVS flash so provisioning happens only once.
Stage 3 is Sensor Reporting
Device -> Cloud -> App.
Every 5 seconds the loop() reads temperature and humidity from the DHT22 sensor. Then if the data is valid ESP32 publishes the values to the Rainmaker cloud over MQTT using updateAndReportparam(). Then the App shows the latest data values.
Stage 4 is Remote Control
App -> Cloud -> Device.
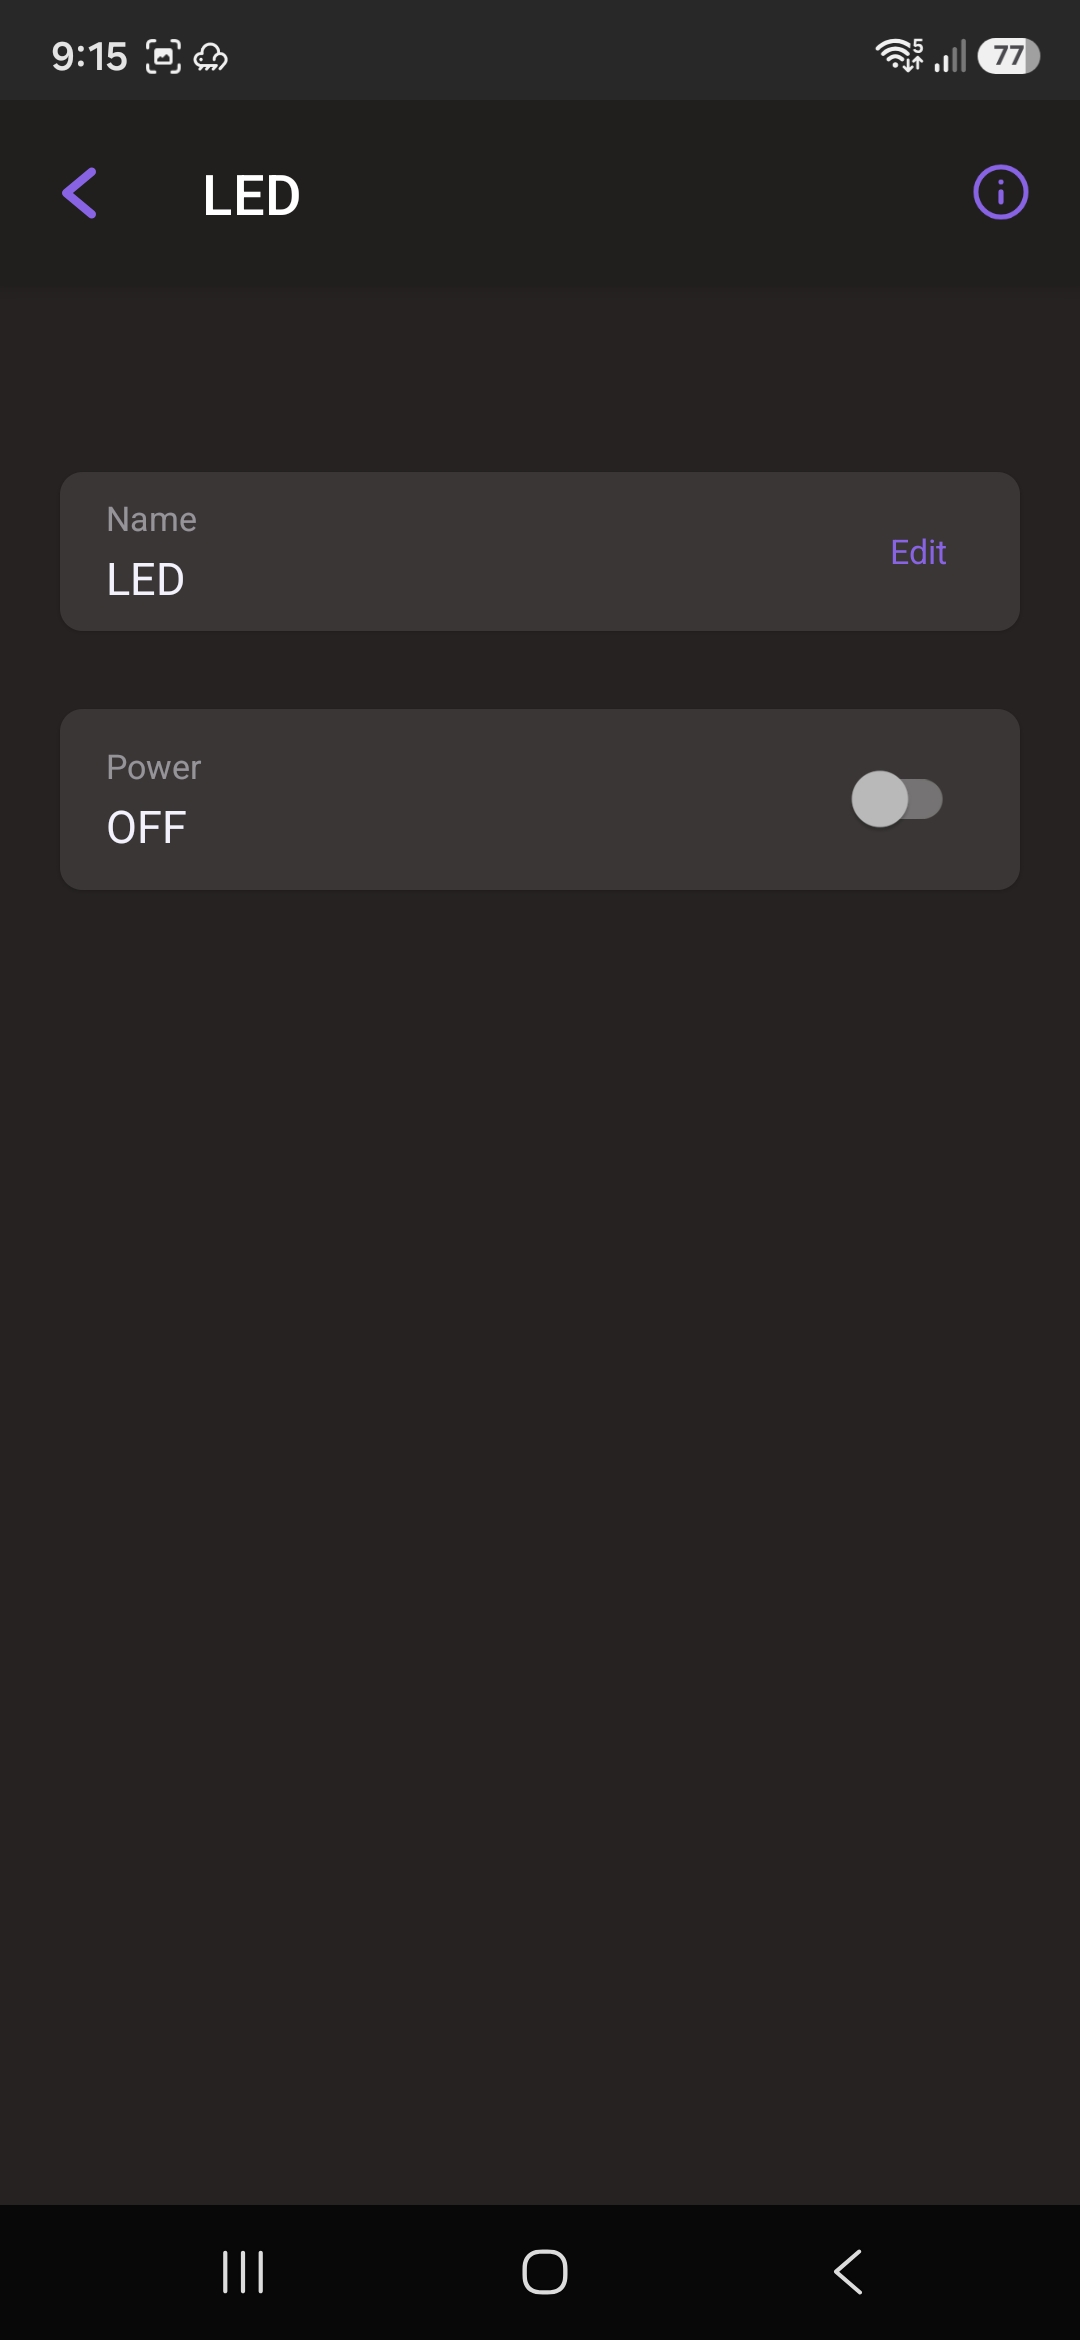
When you tap the LED toggle in the App then the cloud sends the new power value to the ESP32. Here the firmware calls Write_Callback(). Which switches GPIO2 HIGH or LOW and reports the new state back to the App so that it stays in sync.
Working Video
Simple ESP32 Rainmaker project Code to Control LED and Read Sensor
#include <Arduino.h>
#include "RMaker.h"
#include "WiFi.h"
#include "WiFiProv.h"

// DHT22
#include "DHT.h"


// =====================================================
// Pin definitions
// =====================================================

#define LED_PIN     2
#define DHT_PIN     4
#define DHT_TYPE    DHT22


// =====================================================
// Default LED state
// =====================================================

#define DEFAULT_POWER_MODE false


// =====================================================
// RainMaker provisioning
// =====================================================

const char *service_name = "theoryCIRCUIT";
const char *pop = "abcd12345";


// =====================================================
// DHT22
// =====================================================

DHT dht(DHT_PIN, DHT_TYPE);


// =====================================================
// RainMaker devices
// =====================================================

static Switch *my_switch = NULL;
static TemperatureSensor *my_temperature = NULL;
static Device *my_humidity = NULL;


// LED state
bool led_state = DEFAULT_POWER_MODE;


// =====================================================
// Provisioning event
// =====================================================

void sysProvEvent(arduino_event_t *sys_event)
{
    switch (sys_event->event_id)
    {
        case ARDUINO_EVENT_PROV_START:

#if CONFIG_IDF_TARGET_ESP32S2

            Serial.printf(
                "\nProvisioning Started with name \"%s\" and PoP \"%s\" on SoftAP\n",
                service_name,
                pop
            );

            printQR(service_name, pop, "softap");

#else

            Serial.printf(
                "\nProvisioning Started with name \"%s\" and PoP \"%s\" on BLE\n",
                service_name,
                pop
            );

            printQR(service_name, pop, "ble");

#endif

            break;


        case ARDUINO_EVENT_PROV_INIT:

            wifi_prov_mgr_disable_auto_stop(10000);

            break;


        case ARDUINO_EVENT_PROV_CRED_SUCCESS:

            wifi_prov_mgr_stop_provisioning();

            break;


        default:

            break;
    }
}


// =====================================================
// RainMaker LED callback
// =====================================================

void write_callback(
    Device *device,
    Param *param,
    const param_val_t val,
    void *priv_data,
    write_ctx_t *ctx)
{
    const char *device_name = device->getDeviceName();
    const char *param_name = param->getParamName();


    if (strcmp(param_name, "Power") == 0)
    {
        led_state = val.val.b;


        Serial.print("RainMaker LED: ");


        if (led_state)
        {
            Serial.println("ON");

            digitalWrite(LED_PIN, HIGH);
        }
        else
        {
            Serial.println("OFF");

            digitalWrite(LED_PIN, LOW);
        }


        // Send updated state back to RainMaker
        param->updateAndReport(val);
    }
}


// =====================================================
// SETUP
// =====================================================

void setup()
{
    Serial.begin(115200);

    delay(1000);


    Serial.println();
    Serial.println("======================================");
    Serial.println(" ESP32 RainMaker + DHT22");
    Serial.println("======================================");


    // =================================================
    // LED
    // =================================================

    pinMode(LED_PIN, OUTPUT);

    led_state = DEFAULT_POWER_MODE;

    digitalWrite(
        LED_PIN,
        led_state ? HIGH : LOW
    );


    // =================================================
    // DHT22
    // =================================================

    dht.begin();

    Serial.println("DHT22 initialized");


    // =================================================
    // Create RainMaker Node
    // =================================================

    Node my_node;

    my_node = RMaker.initNode(
        "ESP32 DHT22 Monitor"
    );


    // =================================================
    // LED SWITCH
    // =================================================

    my_switch = new Switch(
        "LED",
        NULL,
        DEFAULT_POWER_MODE
    );


    if (!my_switch)
    {
        Serial.println(
            "ERROR: Could not create LED device"
        );

        return;
    }


    // Attach callback
    my_switch->addCb(write_callback);


    // Add LED to RainMaker node
    my_node.addDevice(*my_switch);


    // =================================================
    // TEMPERATURE SENSOR
    // =================================================

    my_temperature = new TemperatureSensor(
        "Temperature"
    );


    if (my_temperature)
    {
        my_node.addDevice(*my_temperature);

        Serial.println(
            "Temperature device created"
        );
    }


    // =================================================
    // HUMIDITY SENSOR
    // =================================================

    my_humidity = new Device(
        "Humidity",
        "esp.device.sensor"
    );


    if (my_humidity)
    {
        my_humidity->addParam(
            Param(
                "Humidity",
                "esp.param.humidity",
                value(0.0f),
                PROP_FLAG_READ
            )
        );


        my_node.addDevice(*my_humidity);

        Serial.println(
            "Humidity device created"
        );
    }


    // =================================================
    // RainMaker services
    // =================================================

    RMaker.enableOTA(
        OTA_USING_TOPICS
    );


    RMaker.enableTZService();


    RMaker.enableSchedule();


    RMaker.enableScenes();


    RMaker.enableSystemService(
        SYSTEM_SERV_FLAGS_ALL,
        2,
        2,
        2
    );


    // =================================================
    // Start RainMaker
    // =================================================

    RMaker.start();


    // =================================================
    // Wi-Fi provisioning
    // =================================================

    WiFi.onEvent(sysProvEvent);


#if CONFIG_IDF_TARGET_ESP32S2

    WiFiProv.beginProvision(
        WIFI_PROV_SCHEME_SOFTAP,
        WIFI_PROV_SCHEME_HANDLER_NONE,
        WIFI_PROV_SECURITY_1,
        pop,
        service_name
    );

#else

    WiFiProv.beginProvision(
        WIFI_PROV_SCHEME_BLE,
        WIFI_PROV_SCHEME_HANDLER_FREE_BTDM,
        WIFI_PROV_SECURITY_1,
        pop,
        service_name
    );

#endif


    Serial.println();
    Serial.println(
        "RainMaker started."
    );

    Serial.println(
        "Waiting for Wi-Fi provisioning..."
    );
}


// =====================================================
// LOOP
// =====================================================

void loop()
{
    static unsigned long previousMillis = 0;


    // Read DHT22 every 5 seconds
    if (millis() - previousMillis >= 5000)
    {
        previousMillis = millis();


        // =================================================
        // Read DHT22
        // =================================================

        float temperature = dht.readTemperature();

        float humidity = dht.readHumidity();


        // =================================================
        // Check reading
        // =================================================

        if (isnan(temperature) || isnan(humidity))
        {
            Serial.println(
                "ERROR: Failed to read DHT22!"
            );
        }
        else
        {
            Serial.println();
            Serial.println(
                "----- DHT22 -----"
            );


            Serial.print(
                "Temperature: "
            );

            Serial.print(
                temperature
            );

            Serial.println(
                " °C"
            );


            Serial.print(
                "Humidity: "
            );

            Serial.print(
                humidity
            );

            Serial.println(
                " %"
            );


            // =================================================
            // Send temperature to RainMaker
            // =================================================

            if (my_temperature)
            {
                my_temperature->updateAndReportParam(
                    "Temperature",
                    temperature
                );
            }


            // =================================================
            // Send humidity to RainMaker
            // =================================================

            if (my_humidity)
            {
                my_humidity->updateAndReportParam(
                    "Humidity",
                    humidity
                );
            }
        }
    }


    delay(100);
}
Serial Monitor output
App Screenshot